Honey I need a new project....
The next part of the text will deal with the building and details of the rig. It is built around one coil form, on which is wound 5 antenna and inductor coils Here it is
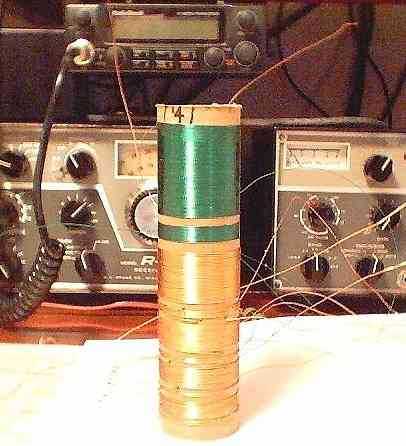
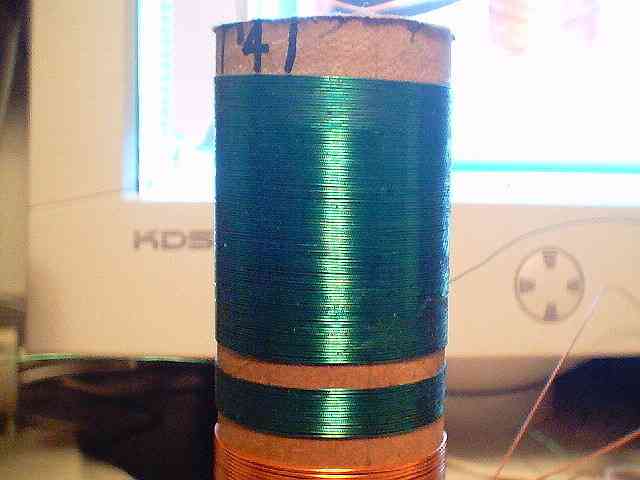
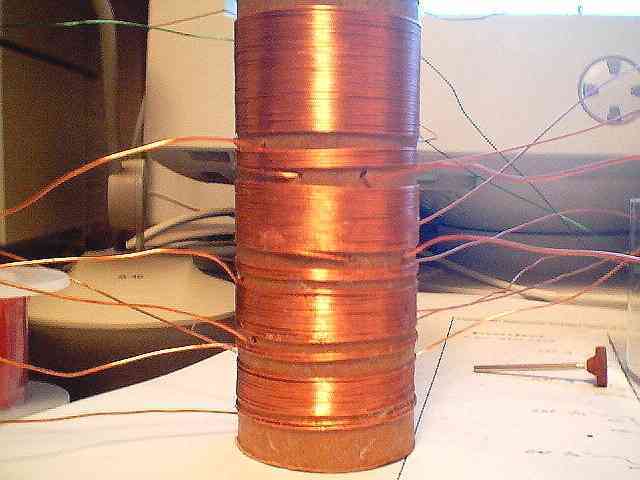
If you look closely you will see 5 separate antenna coils (smaller ones) and 5 separate inductor/tuner coils(larger). Count the turns! What a chore that was to count those 102 turns. I would count out loud and mark down each group of 10 as I wound them. The number 4 on the upper coil view told me where I was on the coil. I divided it into 8 parts. Oh yeah, ever have to wind 5.6 turns??? I held the coils together with a small dab of Elmers glue-all, spread thin over the surface to make them stick. I drilled small 1/8th inch holes in the coil form so the wires wouldn't pull out as I wound them under tension. It was lots of fun to try and thread those wires.
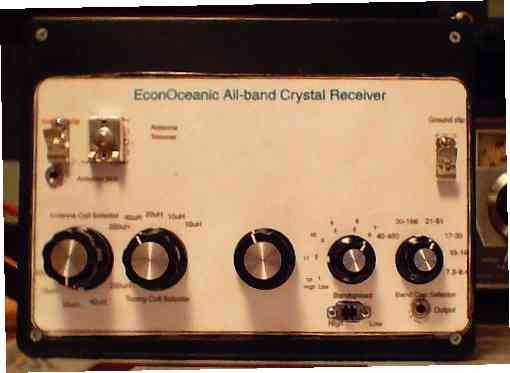
Next I scavenged an old capacitor from an old Zenith radio that was "excess to my needs". (How many times have I told my wife "I may need that someday!") I epoxied that to a Radio Shack plastic hobby box (their largest one). Next I drilled holes for 2-pole 6 circuit switches. (I told you it was complex). Walter Heskes, the designer of the rig also made a neat little decal I could use to tell me exactly where to place switches and markings so it would work "just so". A little playing with my software and the handy color printer at work and voila! A perfect cover decal.

Click here to return home!